Installing a VPN server on a Debian 11 system using WireGuard software
Before installing and running our own VPN server, we should check that all currently installed software packages are up to date. To do this in the console (CLI), type:
sudo apt update
The system will then check whether the software repositories have been updated against the currently installed packages. If the latest versions of the software are currently installed on the system, we will see a message about no possible updates. Otherwise, we will be informed of the number of available packages to update.
Attention: If none of the currently installed package versions is required for the use of other software (sometimes users use software that requires a specific package version), we can perform an upgrade of the currently installed packages with the following command:
sudo apt upgrade
After executing the command, you will be informed which packages will be updated and which, if any, will be removed. To allow the update, select one of the options (yes/no):
Y/n
In our case, it will be Y or y. The entered option is then confirmed with the key Enter.
After correctly updating the currently installed packages, we can proceed to install the necessary components of the VPN software.
In the console window (CLI), we type the command:
sudo apt install wget
This will allow us to install one of the packages that will be required to download our VPN server configuration script. Then, after installing the above package, we type:
sudo apt install wireguard*
This will install the basic VPN server package. The next command you should type is:
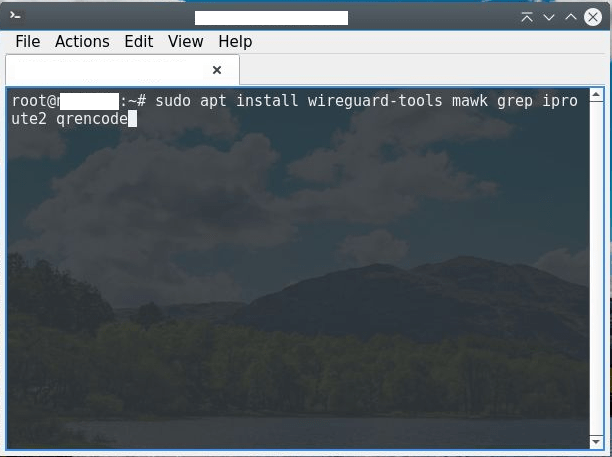
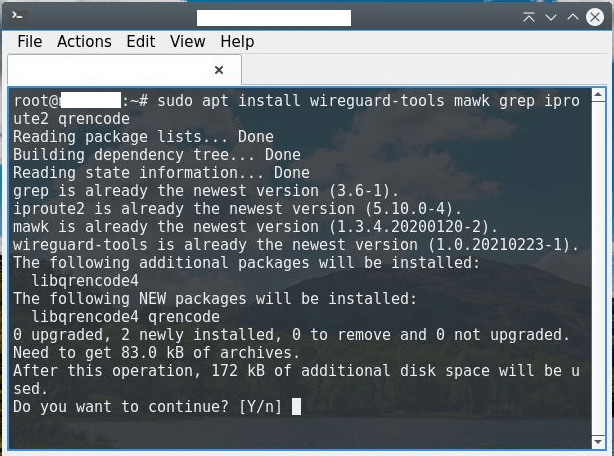
sudo apt install wireguard-tools mawk grep iproute2 qrencode
The above command will install additional packages needed for the proper operation of our VPN server, including a package that enables the generation of QR codes with the necessary information for the VPN client to connect to our server.
After installing the above packages, it is necessary to download a configuration script, thanks to which we will be able to configure our VPN server and connection data with a single command.
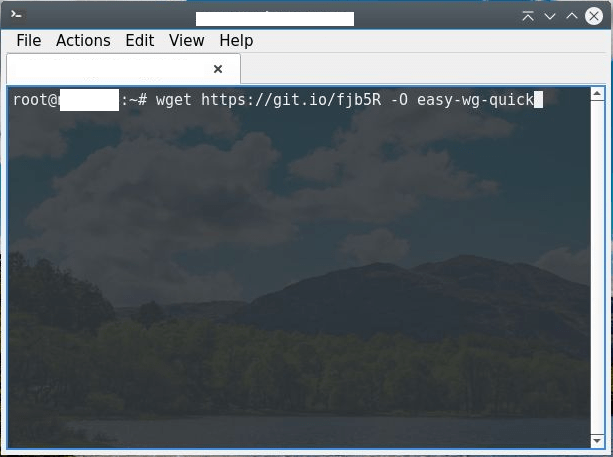
To download the script, type the following command in the console window (CLI) and confirm it with the Enter key:
wget https://git.io/fjb5R -O easy-wg-quick
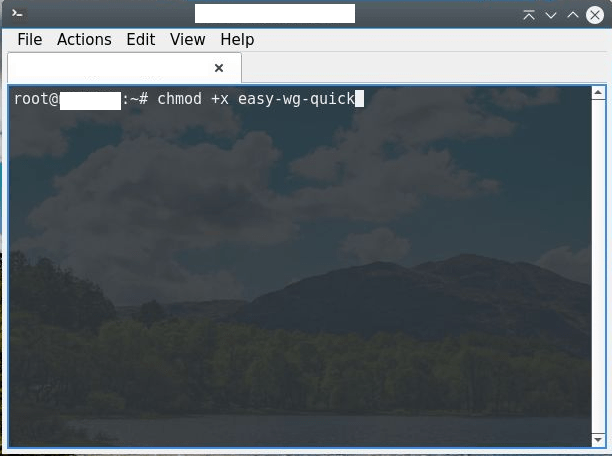
Next, we need to allow our script to "execute itself" (execute/executable), for this purpose we type the following command in the console window (CLI):
chmod +x easy-wg-quick
Attention: Keep in mind that the wget command will download the script to the directory we are currently in. If you want our script to be in a specific directory, you need to navigate to it or create it with the mkdir command, for example:
sudo mkdir /home/VPN/
This will create a new folder named VPN in the Home/home folder. After creating the folder in question, navigate to it and then execute the wget command.
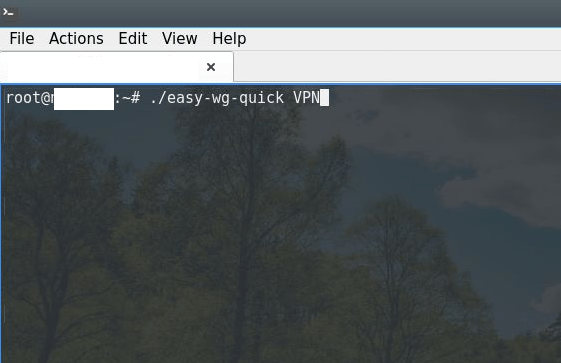
Once we have completed all the previous steps, we will be able to create a new configuration file for our VPN server and client. The first time we call the following command, several files will be created, including the configuration file for the VPN client. On subsequent calls to the following command, only more configuration files will be created for the new clients:
./easy-wg-quick lub ./easy-wg-quick <our_VPN_profile_name>
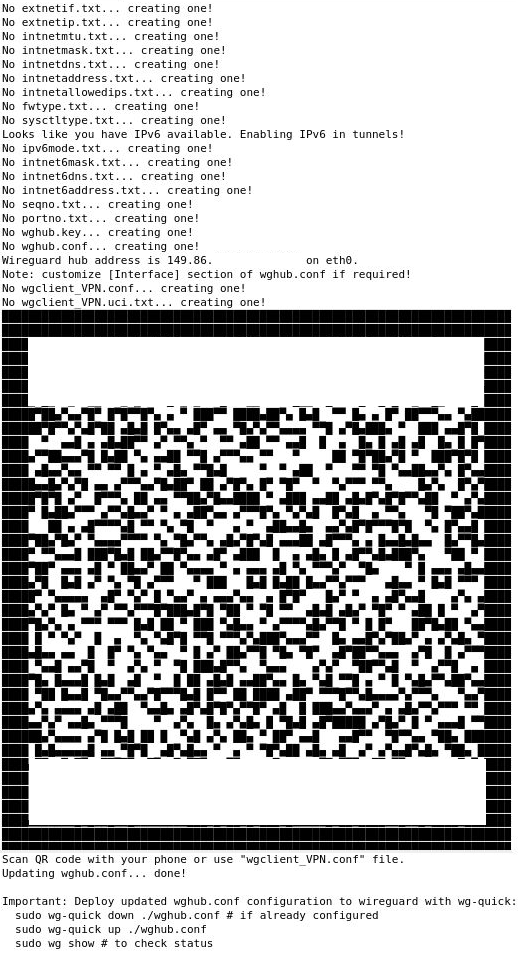
Example of the result of calling the above command:
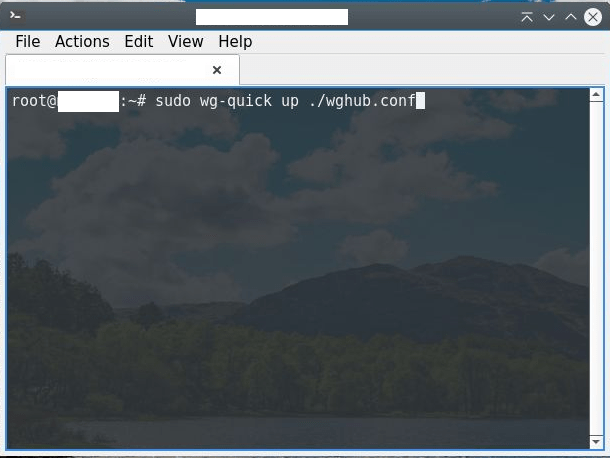
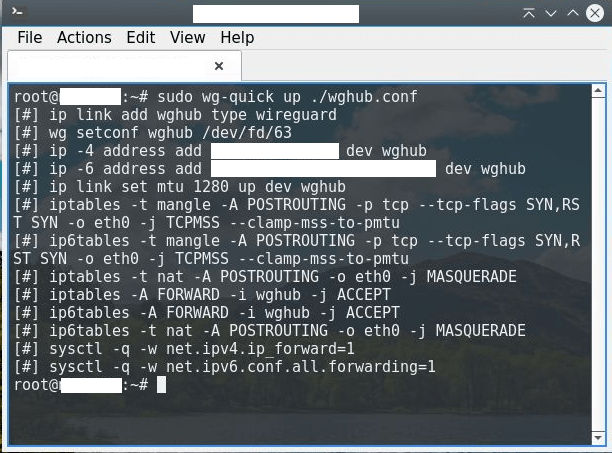
Then run the following command, which will perform the configuration of our VPN server and start the VPN service:
sudo wg-quick up ./wghub.conf
Once all the above steps have been followed correctly, we can connect to our VPN server. If we are using a mobile device, we need to install the WireGuard app and then add the configuration file to it. With the QR code generated earlier, we can quickly and securely add a new connection with the configuration file using the "SCAN QR CODE" option available by clicking the "+" icon inside the app.
If using the standard client for Windows/Linux/Mac, download the WireGuard software from the manufacturer's website, then add the configuration file available in the folder with the script. Example file name for the client:
wgclient_VPN.conf lub wgclient_VPN.uci.txt
Attention: If we are going to enter all the data of the client manually we will find it in the .txt file
If we have added all the necessary data correctly in the configuration file of our VPN client, we will be able to connect to our VPN server.
Once all of the above steps have been completed correctly, check that our VPN server has been properly configured and started, and that the previously configured VPN client has managed to connect to our server:
sudo wg show
Example of correct message:
interface: wghubpublic key: kbaG3HxSDz3xhqiTNXlo1fZkFa+V6oTl+w0cSAQKxwQ=private key: (hidden)listening port: 51820peer: th8qYu0R0mgio2wPu1kz6/5OOgi6l8iy7OobK590LHw=preshared key: (hidden)endpoint: 10.60.1.150:37218allowed ips: 10.127.0.10/32latest handshake: 50 minutes, 22 seconds agotransfer: 32.64 MiB received, 95.24 MiB sent
If all the above steps have been followed correctly, we can already start using our VPN connection on the mobile device or computer from which we want to create a secure tunnel to our server.
Done! Your VPN has been installed.


