How to install Proxmox virtualization via KVM?
The following method works on a dedicated server offered by Mevspace.
Attention: To use the KVM console, you must have JRE software version 8 update 251 installed on your computer. The use of the KVM console is free of charge. You can order KVM consoles from the Mevspace panel.
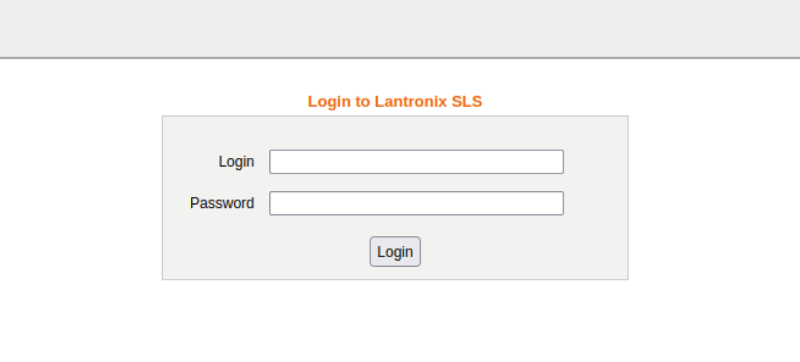
Log in to the KVM panel.
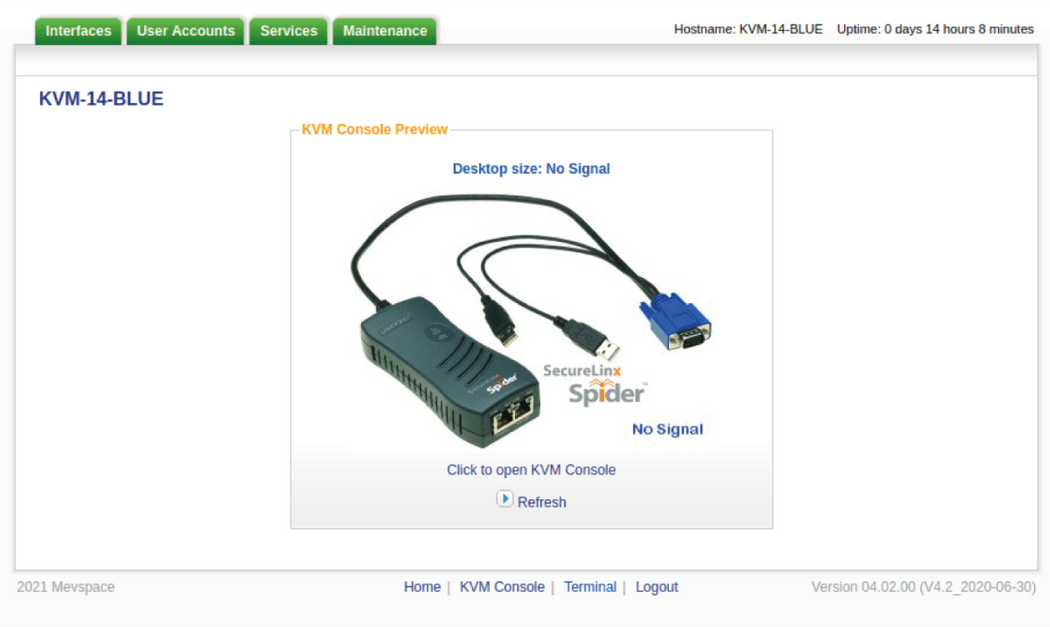
Click the "Click to open KVM Console" button.
If the browser warns you about the file contents, click "Keep" to download it.
Open the downloaded file.
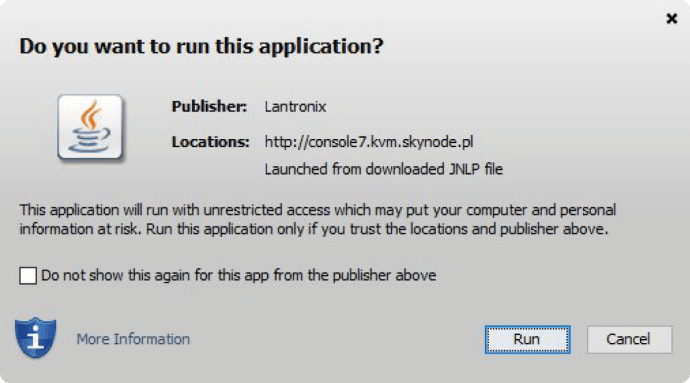
Start it by clicking "Run."
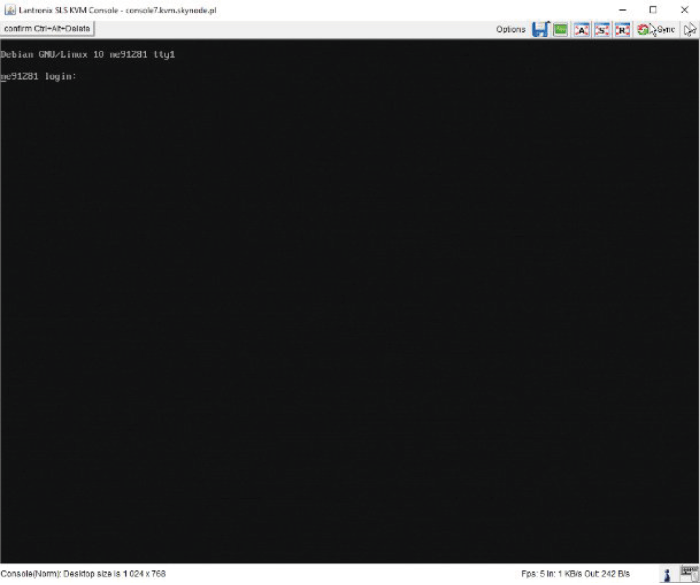
If all previous steps have been performed correctly, this window will show up.
Attention: Some motherboards do not support Virtual Disc with KVM. If this is the case, please write to admin@mevspace.com to prepare a bootable USB stick with the selected version of Proxmox.
Click the blue floppy icon in the upper right corner.
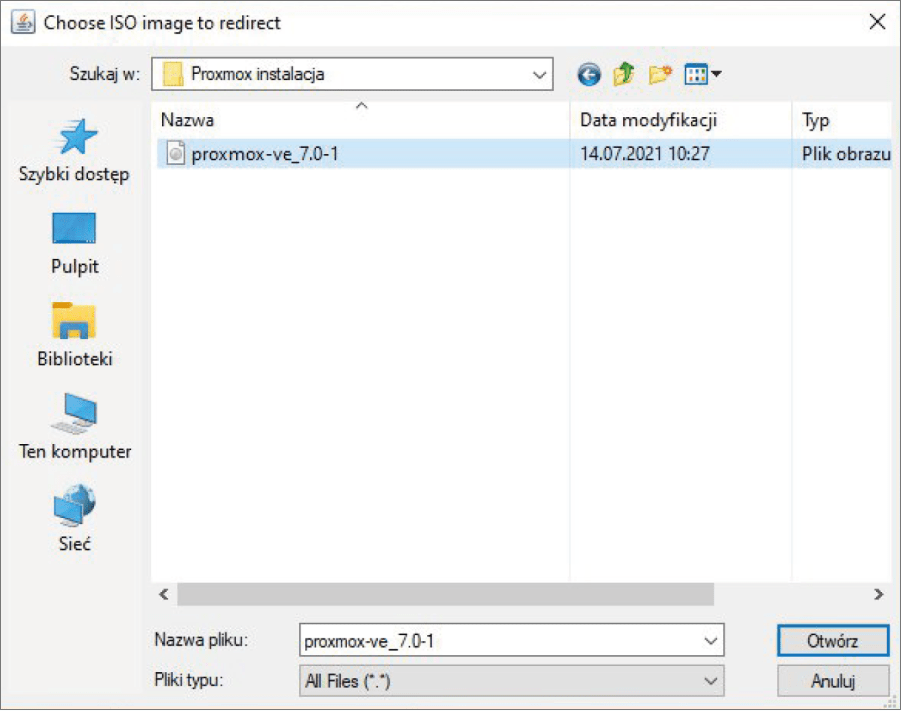
After a new window has shown up, click the "Connect ISO" button.
Select the ISO file with Proxmox you want to install.
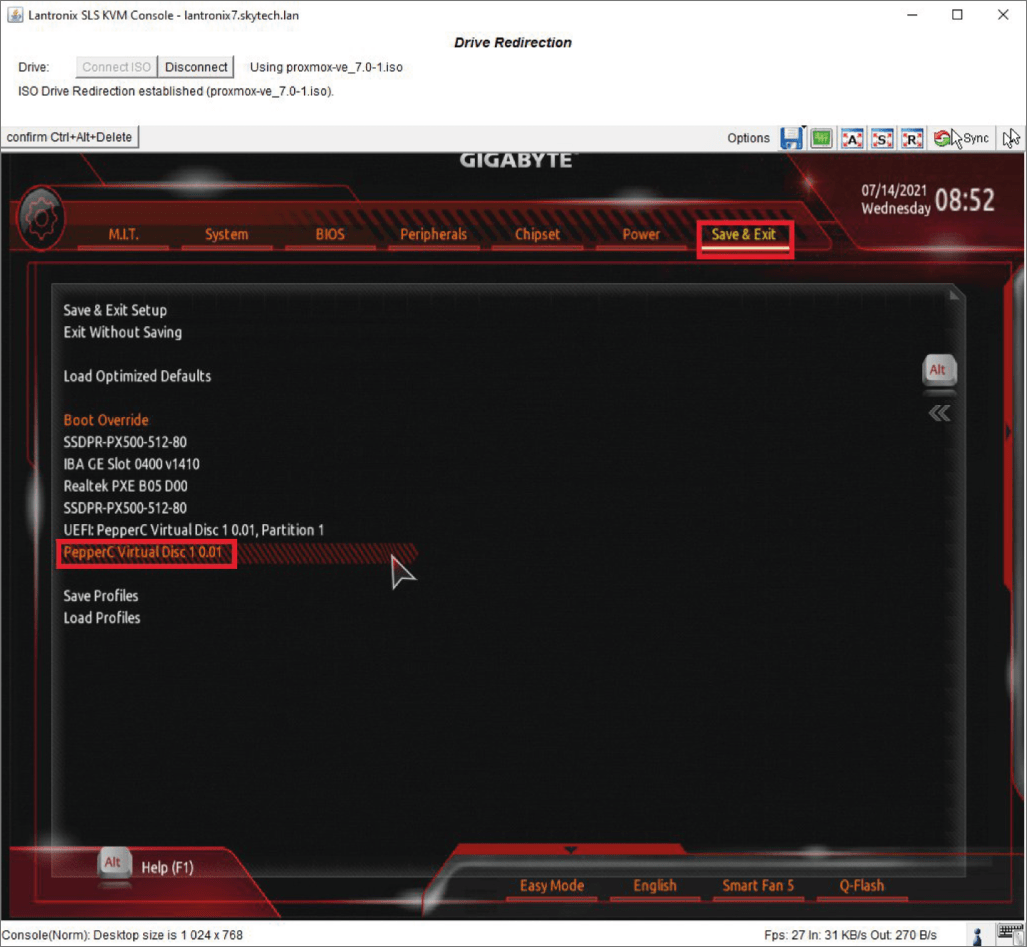
Once the ISO has been successfully connected, we press "Confirm Ctrl + Alt + Delete". Once the machine is booting, we need to enter the BIOS by clicking F2 or Del/Delete.
From the BIOS menu, go to the "Save & Exit" tab. When in there, select the "PepperC VirtualDisc 1 0.01" option and confirm by pressing Enter.
Wait for the installer to load.
Attention: Installation speed depends on how fast your Internet connection is.
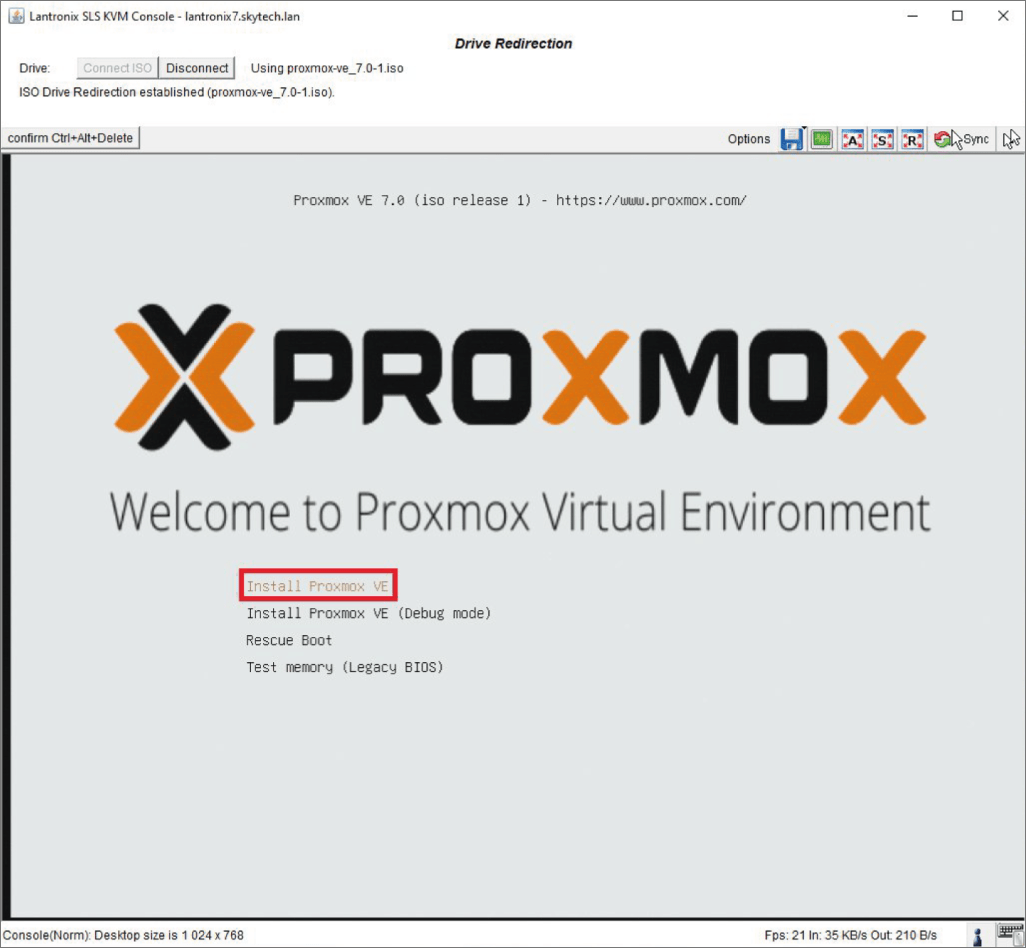
After the installer has properly loaded, you will see the installation start screen. Select the first option, i.e. "Install Proxmox VE."
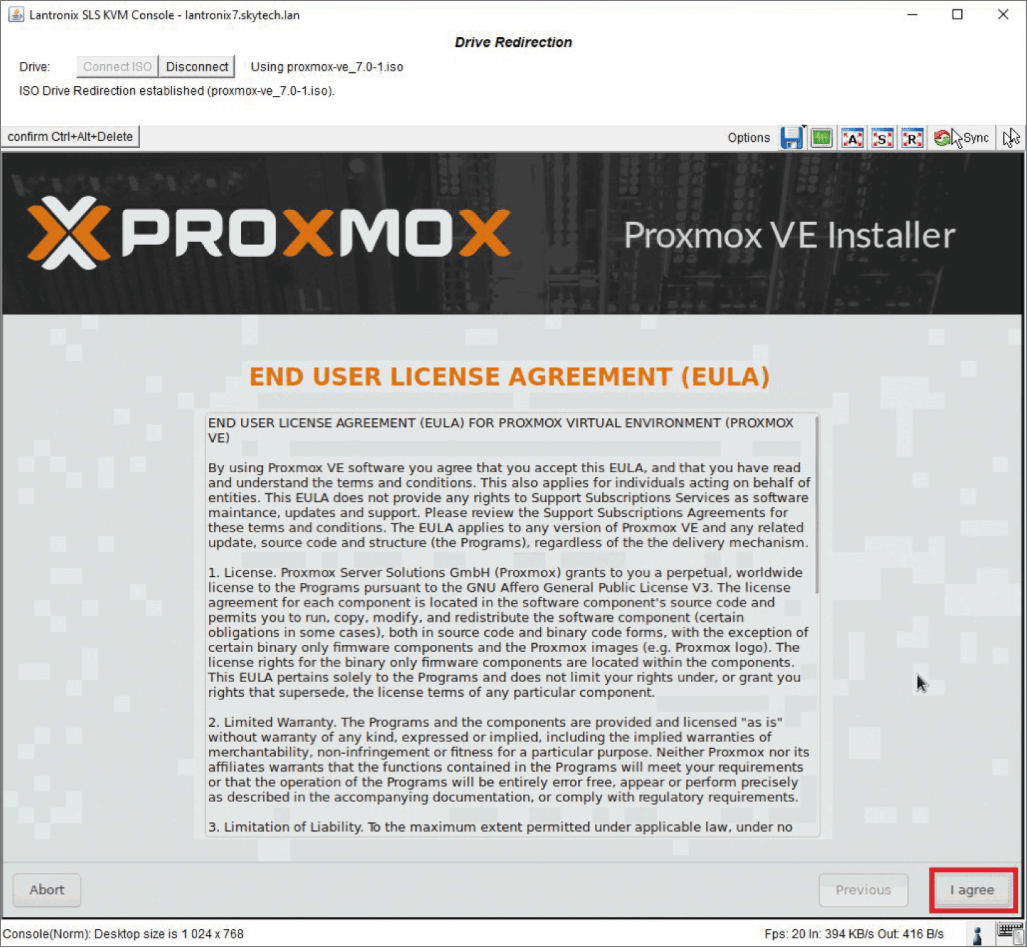
After the initial components have loaded correctly you need to accept the end-user policy (EULA).
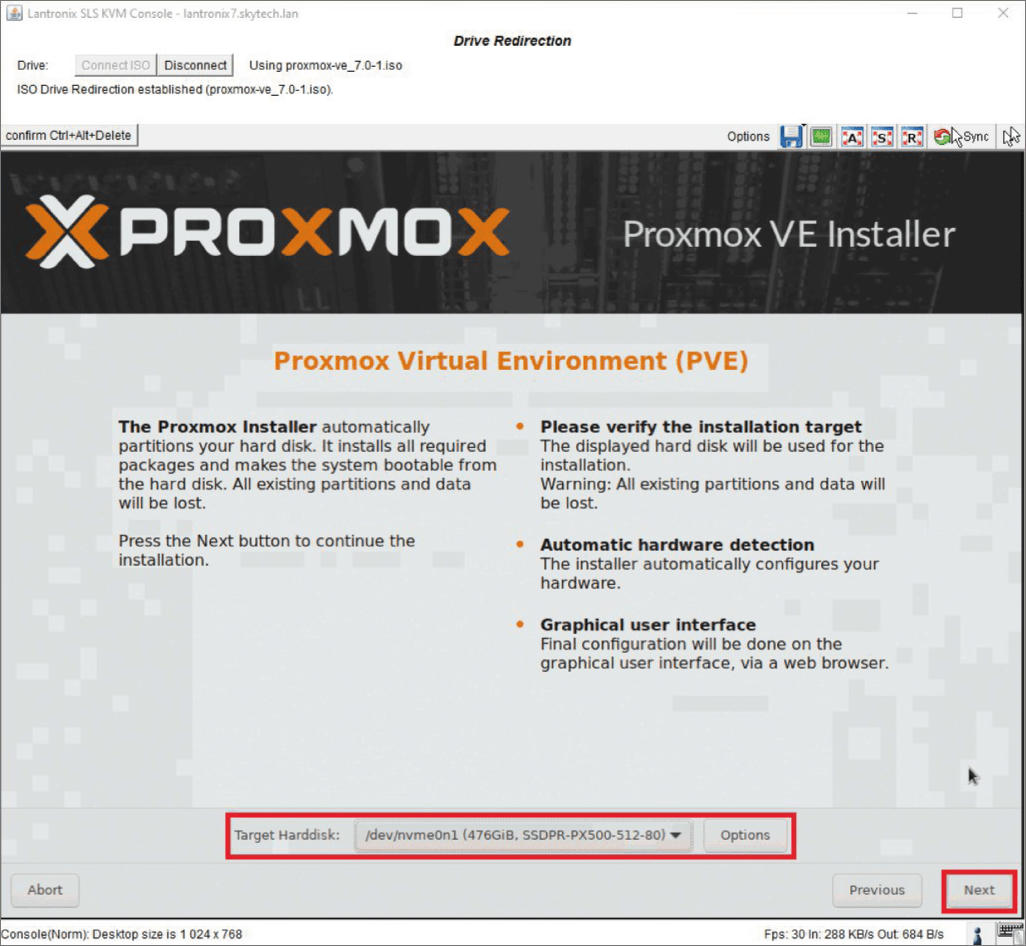
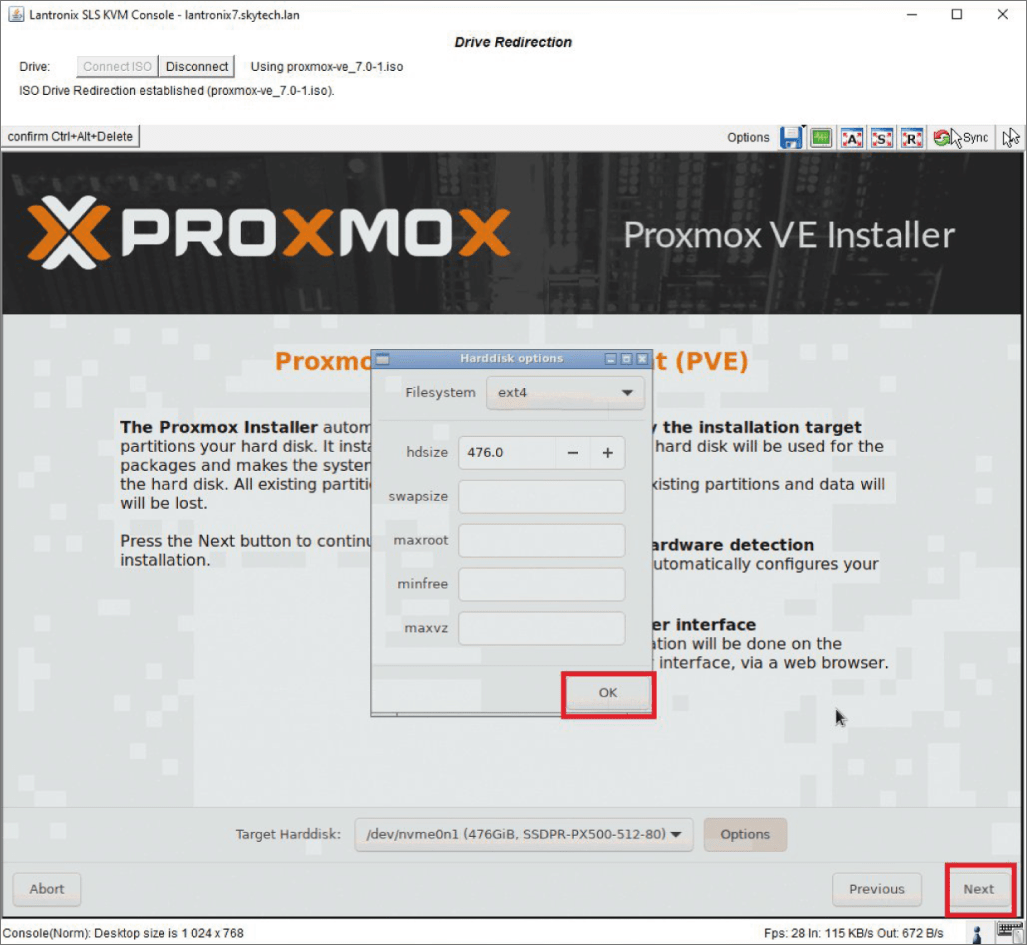
In the next window you have to decide on which disk you want Proxmox installed. You can also change settings like the file system (default ext4) or partition size. After choosing the correct option click "Next."
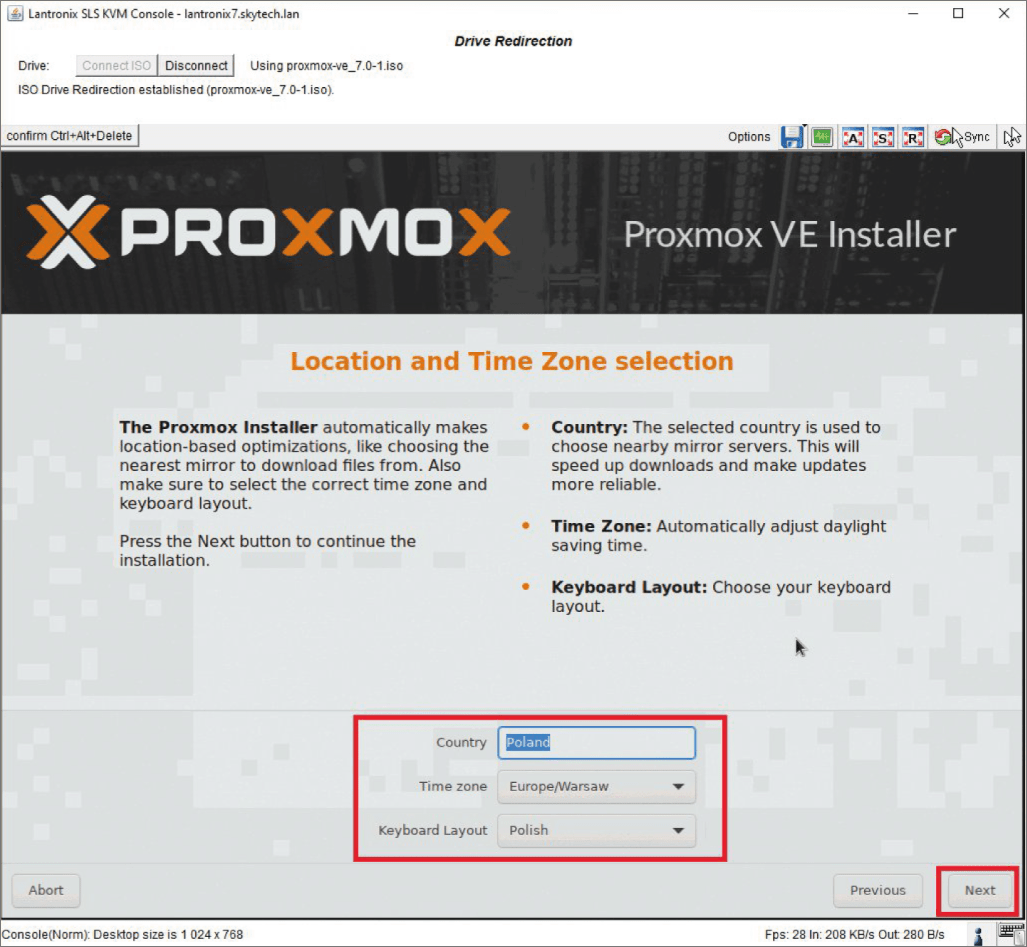
In the next step the installer will ask you to select your country, time zone, and keyboard layout. This data is necessary for the basic configuration of the Proxmox.
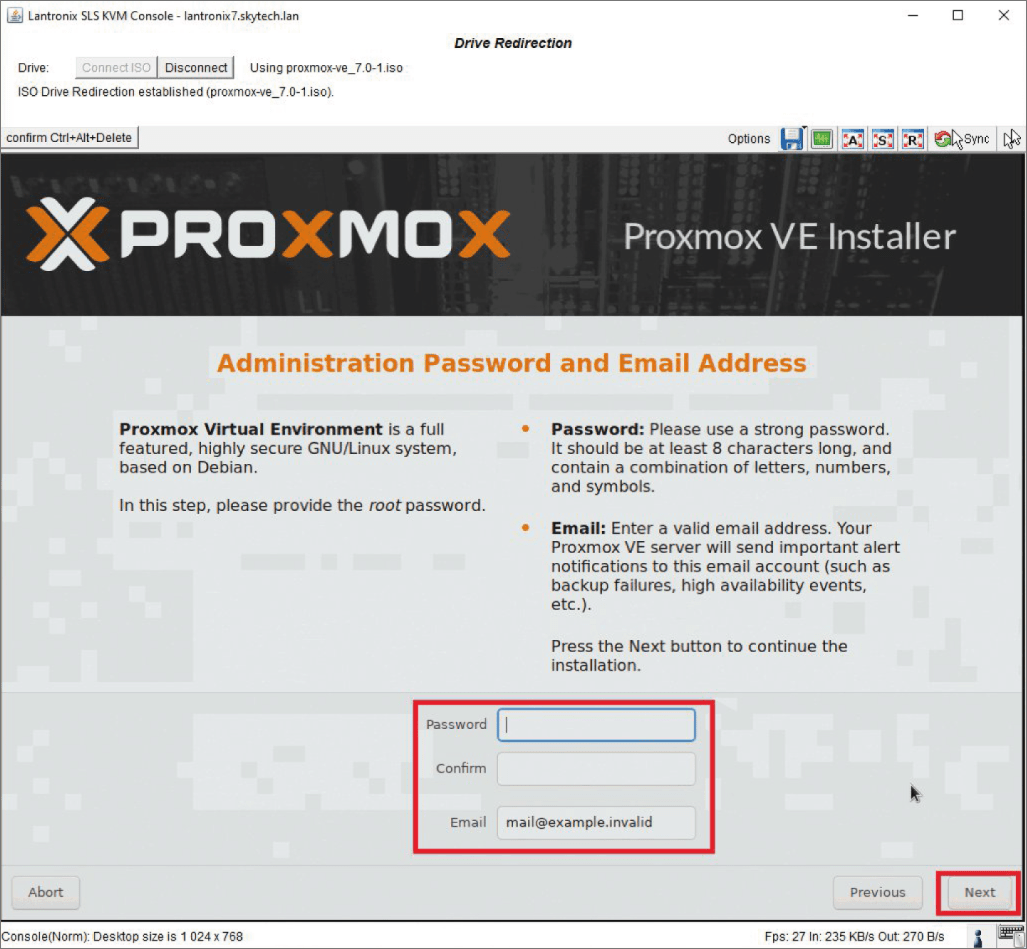
In the next step installer will ask you to enter the root's password and e-mail address. Ensure that the e-mail address is correct. In the future will be used to receive all e-mails regarding your Proxmox instance.
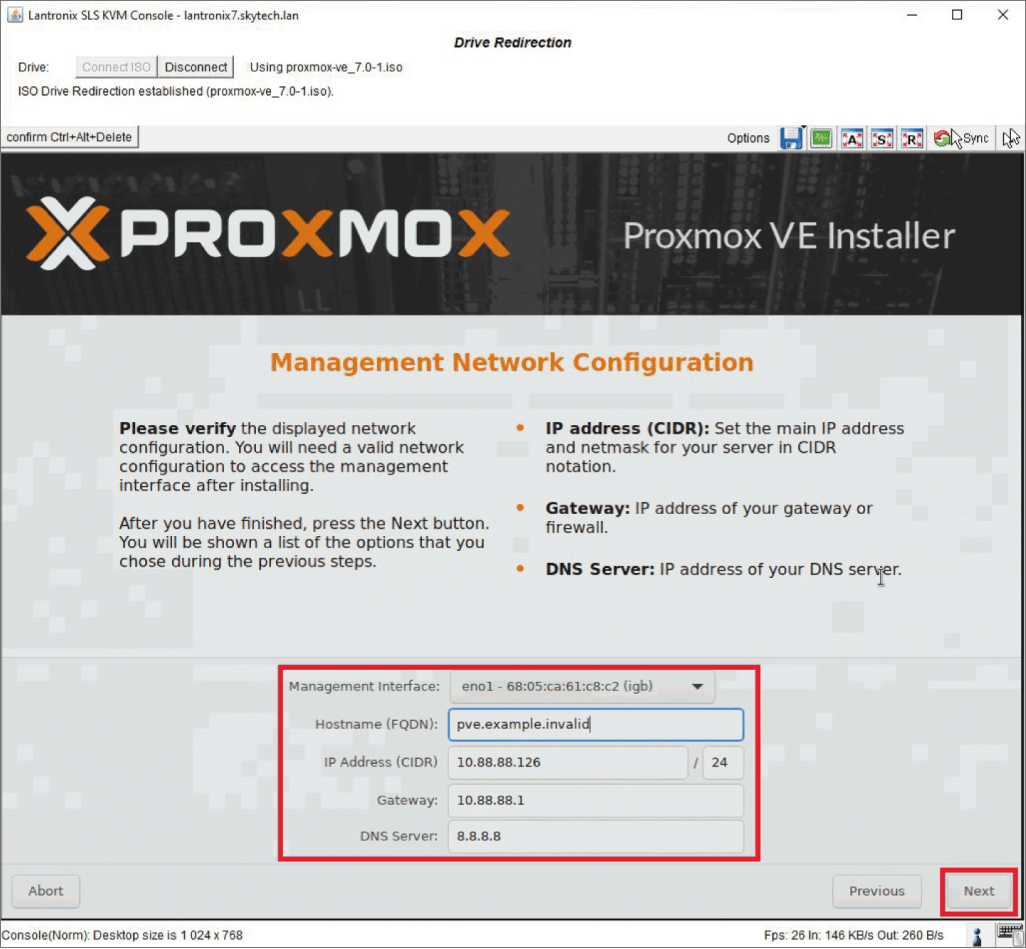
In this step the installer will ask you about information available in your server management panel (screenshots 2 and 3).
Hostname - your server's name. IP address - the IP address that you can see in the first column of "Primary IP addresses". Gateway - IP address of your server's gateway visible in "Primary IP addresses" second column. DNS Server - IP of the DNS server you intend to use.
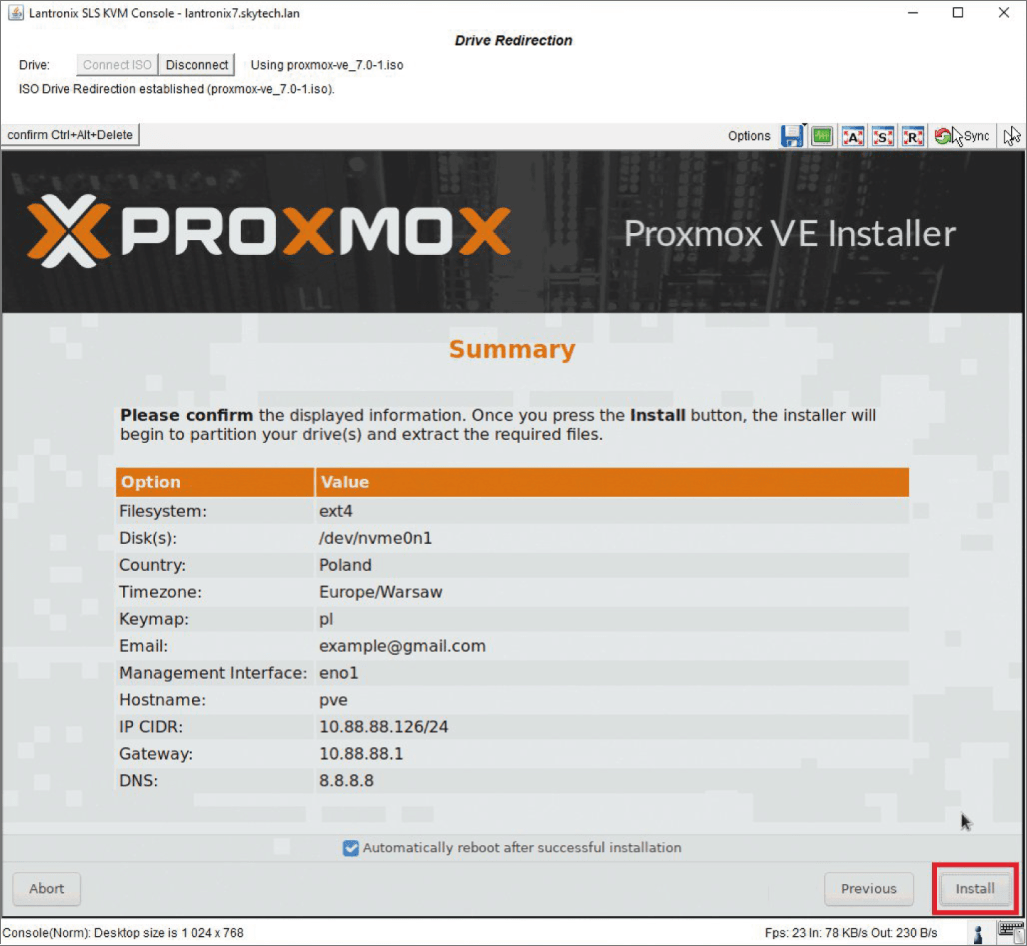
In the next step you can see a summary of installation preparation, including settings you selected. Confirm they are correct, and then click "Install" to begin Proxmox installation.
To log into the web-based control panel of our Proxmox system in your browser, go to https://YoursIPv4:8006/.
All done! Your Proxmox is installed on your dedicated server.
